Historical October 1976 home-rehabilitation column. The original methods and materials are reproduced as period reporting, not current construction guidance.
Hello all you rehabers! Here is another month of words of wisdom just meant for you..
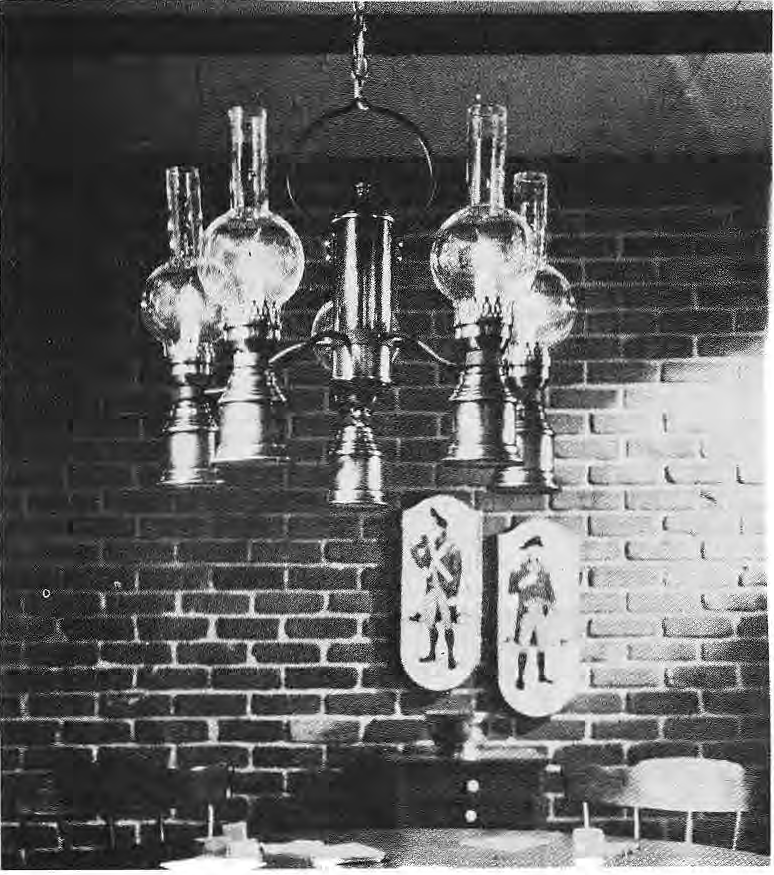
Many of our rehabs in the area have shed their plaster from the brick walls in order to create a comfortable country atmosphere. This is a decorating trick that everyone should be aware of. It is a sure way to make an ordinary room into an eyecatching one you’ve always dreamed about..
The procedure I am about to recommend is particularly meant for brick walls with old loose mortar. If you plan to tackle this job, don’t be afraid of the dust, the mess and the hours involved because they are sure to come your way. But a few words of encouragement — it is well worth it! It can set a warm mood in any room.
To be fully equipped you’ll need a hammer, two paint brushes, chisel electric drill with a small stiff wire brush attachment, mask, goggles, boiled linseed oil and a silicone sealer.
Now, start hammering away on your wall. (For the first few minutes you will probably feel dreadfully destructive but this feeling will leave as you discover that there is brick under all that messy plaster.) The plaster will fall right off the brick, if you are working with old plaster. For the tough areas try chiseling the plaster. After this step has been taken, your brick wall will still have a crust of plaster.
The next step is where you really need a stiff upper lip. Put on the goggles and mask and start to clean each brick with the electric drill brush attachment. Be sure not to let the brush drift off onto the mortar. After every brick is cleaned the wall will still have a powdery effect. Depending upon decorting taste, you may decide to skip the next cleaning process.
Brush all loose powder from the mortar. Then use a mixture of half boiled linseed oil and half water. Proceed to brush this mixture onto the brick wall with a paint brush. You may need to repeat this procedure. This step brings out the redness in the brick.
Brush on the silicone sealer which will help the mortar stay in place . . . .
At last! You now have the beautiful brick wall you’ve been striving for.
Watch for the rehab column next month. We’ll tell you how to finish off walls that butt up against your new brick wall and how to fill in space between woodwork and brick wall.
Original photograph caption
Exposed brick interior illustrating The Rehabit. The Paper, October 1976, page 4. Photographer not credited.
Originally published in The Paper, October 1976.
Read this article in the original newspaper issue.
Archival transcription note: Printed “decorting” retained.
Original source: SD_Times1976_10.pdf, printed page(s) 4; PDF page(s) 4.
